There are several things you should remember when growing microgreens. These plants need to have a pH between 5 and 6. Make sure the growing pad is completely saturated before adding the seeds. Next, scatter the seeds on the growing pad. For small varieties, use just 2 tablespoons of dry seeds. Larger varieties may need a quarter cup.
With a little knowledge you can begin to grow your own microgreens. Ted Chang will show you how to grow your microgreens in punnets of used strawberry liners. They do not require a backyard or green thumb to grow them. Even your window sills in the kitchen can be used for growing them. But don't think they will grow quickly. You can also try different types if you aren't sure.
The nutrient mixture must provide enough nutrients to the plants. You need to ensure that the nutrient solution contains all the necessary micronutrients for the growth of your microgreens. The best trays for microgreens are those that have been specifically designed for this purpose. If you are not comfortable with containers, consider using a growing pad. You don't need to use heavy soil for microgreens; you can simply cover the pots with plastic wrap to keep them moist.
These are some tips to help you grow microgreens at home. You can harvest your microgreens in about 10 to 14 working days. But some varieties may be ready much sooner. It's best to keep the growing tray as cool and dry as possible. You can also leave your compostable tray out of direct light for the first few day if it's a compostable tray. You can also store the microgreens in the refrigerator.
Easy and safe way to grow microgreens at home. Microgreens contain all of the nutrients necessary for your body to be healthy. They can be grown on your rooftop or windowsill. The process is quite straightforward. If you don't feel confident in your greens' growth capabilities, you can hire professionals to assist you. You will be rewarded, with nutritious and delicious microgreens that can be added to your diet.

Microgreens are not only nutritious but also very portable. The size and shape of these plants makes them the perfect food for packing in lunches. Microgreens are a great option if you want to quickly get your daily supply of fresh vegetables. Just remember to choose nutritious seeds and follow the directions on the package. Make sure to enjoy your new crop. Even if you aren't growing microgreens, it might be worth starting a business that grows these healthy crops. You may find this a profitable startup business!
A microgreens business can help you keep busy and feed the world, regardless of your retirement age. Microgreens can be grown in as little as a week and you will also make a small profit. Microgreen crops that are most popular include arugula (basil, celery), cabbage, endive radish and celery). Microgreens are an excellent way to make a living as a retired person. You can also plant your own heirlooms.
FAQ
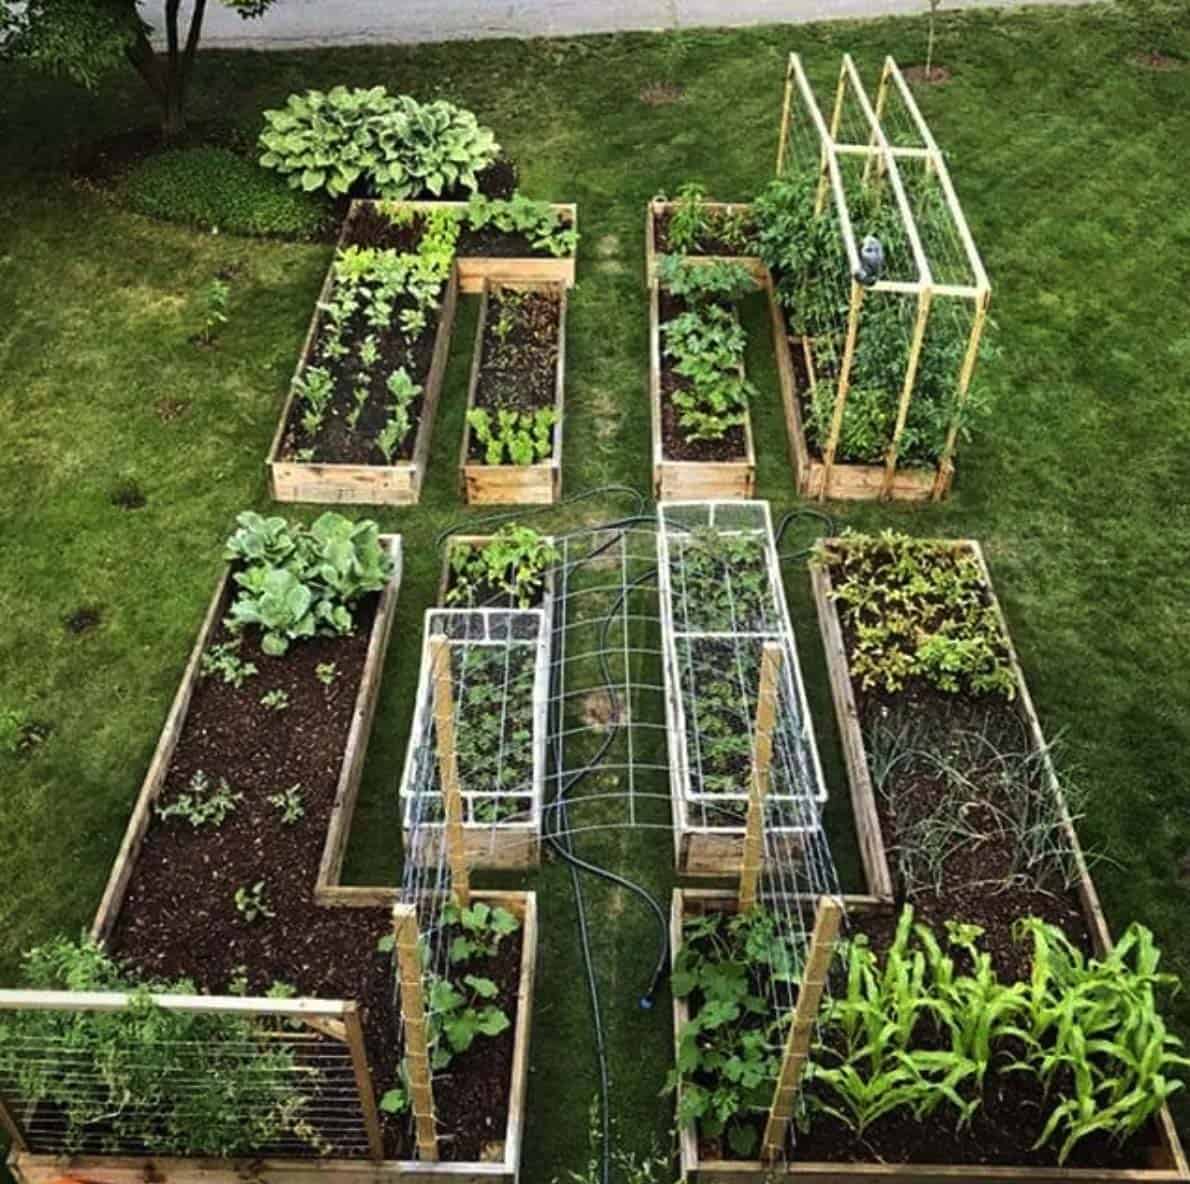
What equipment do I need to grow vegetables?
Not really. All you need to do is use a shovel, trowels, watering containers, and maybe even a rake.
What is a planting schedule?
A planting plan is a list of plants to be planted at different times each year. The goal of a planting calendar is to maximize plant growth and minimize stress. For example, early spring crops such as peas, spinach, and lettuce should be sown after the last frost date. Summer beans, squash, cucumbers and squash are all later spring crops. Fall crops include potatoes, carrots, broccoli, cauliflower and broccoli.
How can I tell what kind of soil is mine?
By looking at the dirt's color, you can tell. Darker soils contain more organic matter than lighter-colored ones. Soil testing is another option. These tests determine the amount of nutrients in the soil.
What month is best for starting a vegetable or fruit garden?
The best time to plant vegetables is from April through June. This is the best time to plant vegetables. The soil is warmer and plants grow faster. You might want to wait until July/August if you live in a cold area.
Statistics
- It will likely be ready if a seedling has between 3 and 4 true leaves. (gilmour.com)
- According to the National Gardening Association, the average family with a garden spends $70 on their crops—but they grow an estimated $600 worth of veggies! - blog.nationwide.com
- 80% of residents spent a lifetime as large-scale farmers (or working on farms) using many chemicals believed to be cancerous today. (acountrygirlslife.com)
- As the price of fruit and vegetables is expected to rise by 8% after Brexit, the idea of growing your own is now better than ever. (countryliving.com)
External Links
How To
Basil Growing Tips
Basil is one herb you can use to make many different dishes in your kitchen. Basil is great to add flavor to dishes, sauces or pastas. Here are some tips for growing basil indoors at home.
-
Carefully choose your location. Basil is an annual plant that will only survive one season if placed in the correct place. It can tolerate partial shade but prefers full sun. If you are growing it outside, choose a spot with good air circulation.
-
Plant the seeds. Basil seeds must be planted at the latest two weeks before last frost. You should sow the seeds at a depth of 1/2 inch in small pots. The pots should be covered with clear plastic wrap. Germination usually takes about ten days. After they have germinated move them into a cool, shaded place where the temperature stays around 70 degrees Fahrenheit.
-
Transplant the seedlings once they're big enough to handle. Transplant the seedlings into larger pots by removing the plastic wrap. Each container should be filled with potting mix. To help remove excess moisture, add gravel or pebbles. As necessary, you can add more potting material. Place the containers in indirect or sunny light. To prevent wilting, mist the plants every day.
-
Apply a thick layer mulch to the top of your plants after the danger of frost has passed. This will keep them warm and prevent water loss.
-
Regularly water the plants. Basil needs to be hydrated regularly to ensure its survival. You can use a rain gauge or a water gauge to determine the amount of water that your plants need. A timer can be used to shut off the irrigation system when it is dry.
-
When your basil reaches its peak, pick it. Pick the leaves regularly to encourage bushier, healthier growth.
-
Use paper towels or screens to dry the leaves. Keep the dried leaves in glass containers or bags in a refrigerator.